Here is a full recap on the 1st 1/4 of the season for Vibrant’s Chris Jeanneret. 1st, before you read, grab some popcorn! Now, as you may know the beginning of this season has not exactly been working in Chris’ favor, or has it? This guy is as tough as nails when it comes to his efforts, and his team is right there behind him, anticipating a new set of challenges with each round. You could not be in the pits with a nicer, more determined guy.
Welcome back to part 2 of our Intercooler Series with Derek at SpeedFactory. We are now going to be mocking, measuring, and cutting the materials for the intercooler in this portion. We also will show you another piece or 2 in this article we made from scratch and detail why these components were needed.
PART 2 – FABRICATE AND BURN
Back in part 1, we explained to you why it is crucial to have all of your fabrication components before you start your job, while giving a few photos of what we were using. Our shopping cart tells you the exact materials we were using for the intercooler project and give you an idea of the outlets you will have to visit for these materials. Vibrant Performance is a similar outlet, where you can go for all of your fab materials you may need to complete such jobs.
End Tank Design
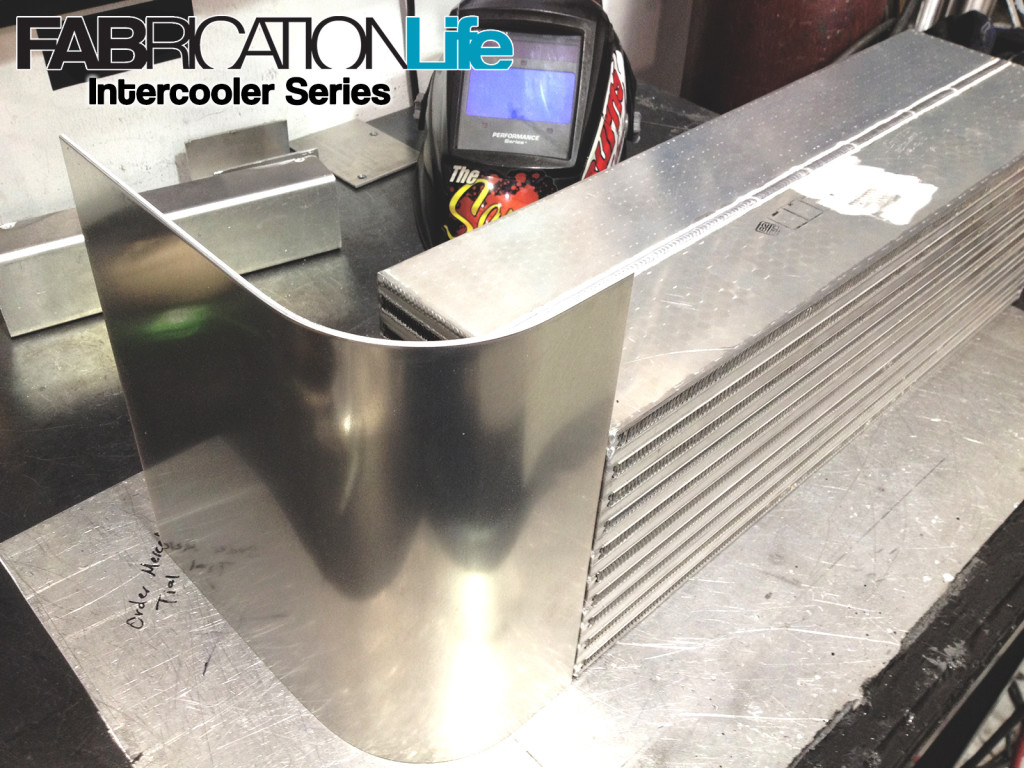
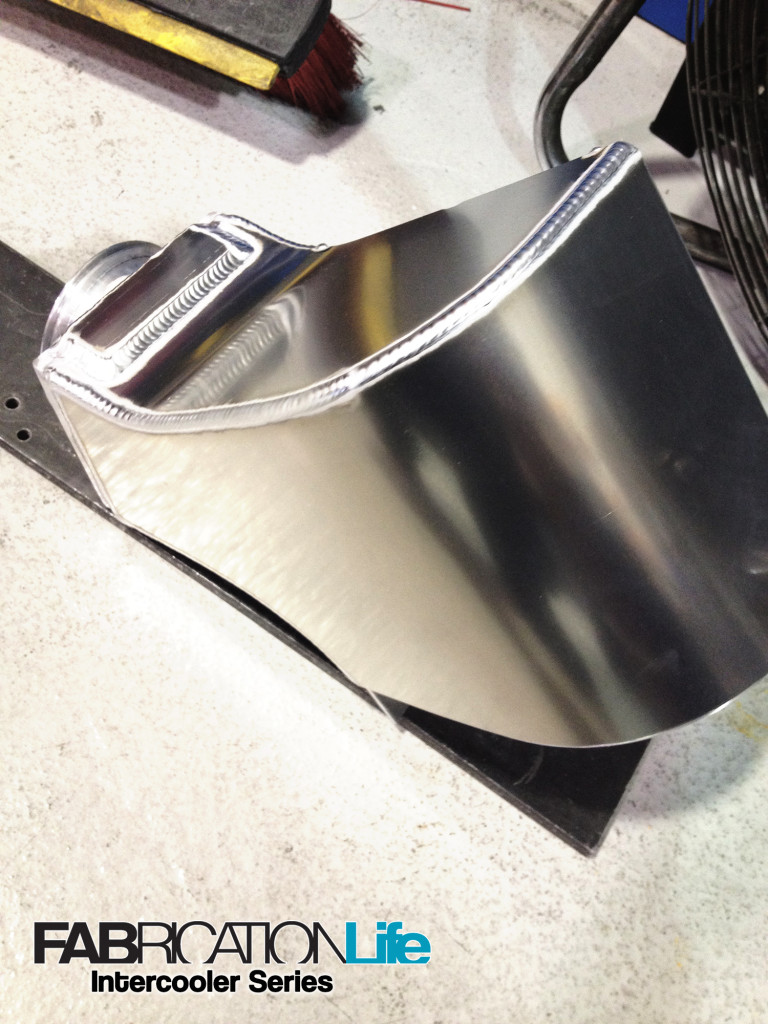
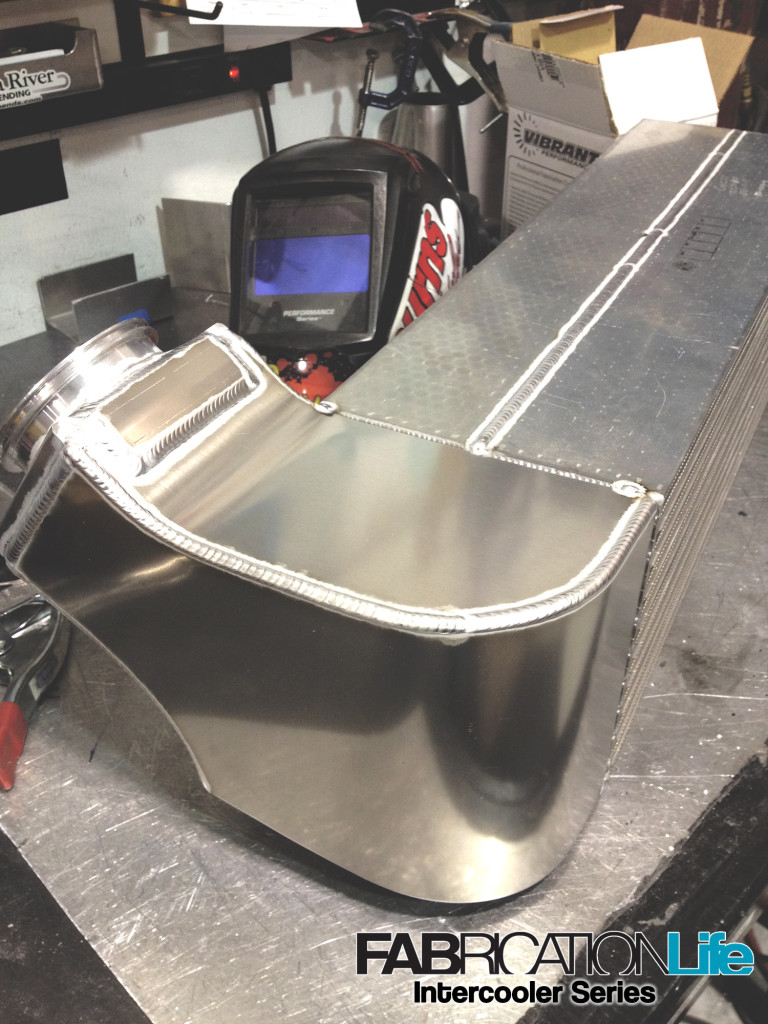
Without trying to point out the obvious I’ll start by saying intercooler cores are square and air moves most efficiently through rounds. My goal is to trick the airflow into thinking it is flowing through a round object by making that transition from square to round as smooth as possible.
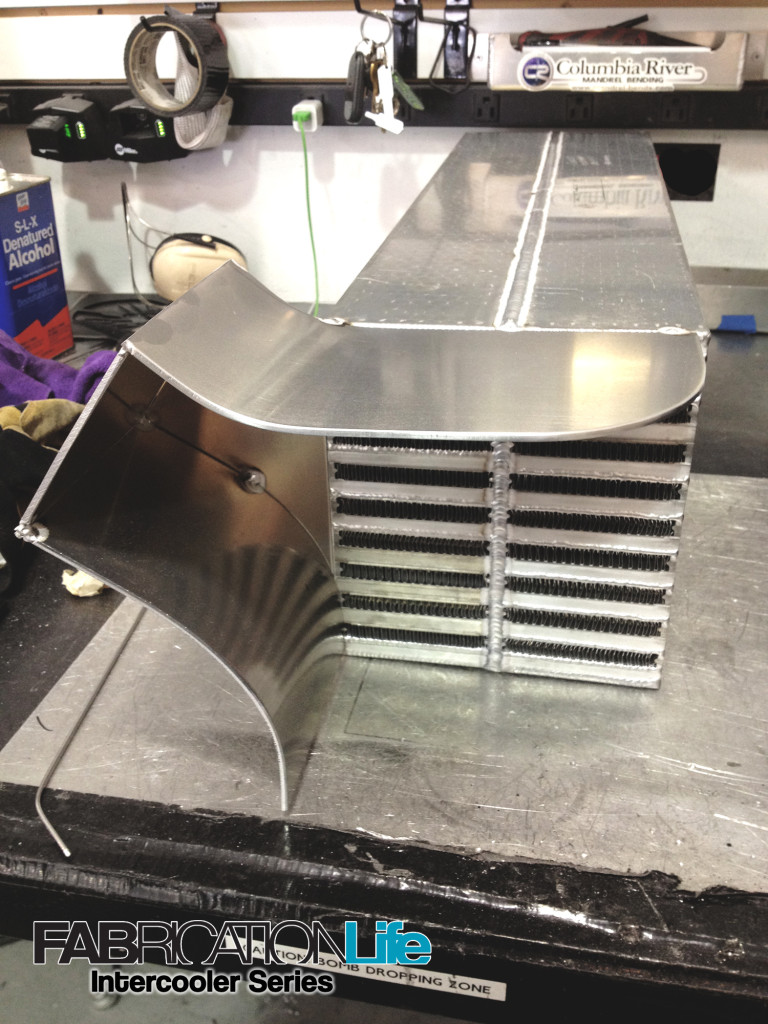
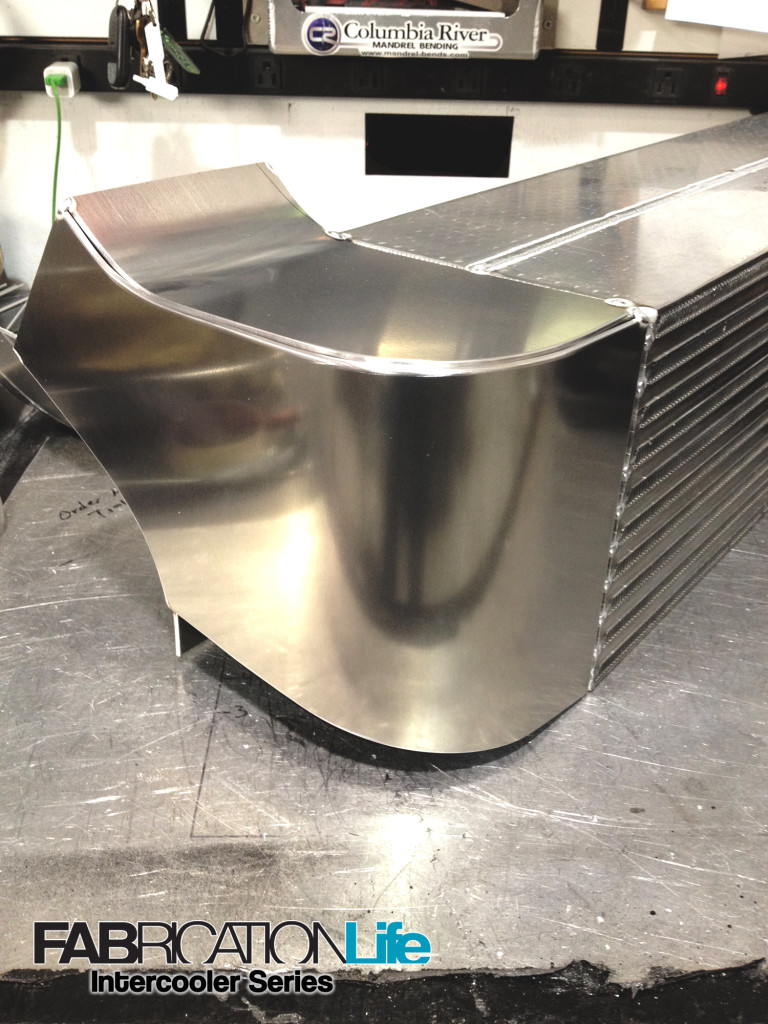
It may sound easy, it may look easy, but keep in mind it has to fit within a chassis where the turbo and cooling systems are already developed and in place. A couple things on my mind while I am making this is having a solid structure,..i want to have as few welded seams as possible because the welded seam will always be the weakest link in a pressurized tank (also the reason I weld the tanks inside and out).
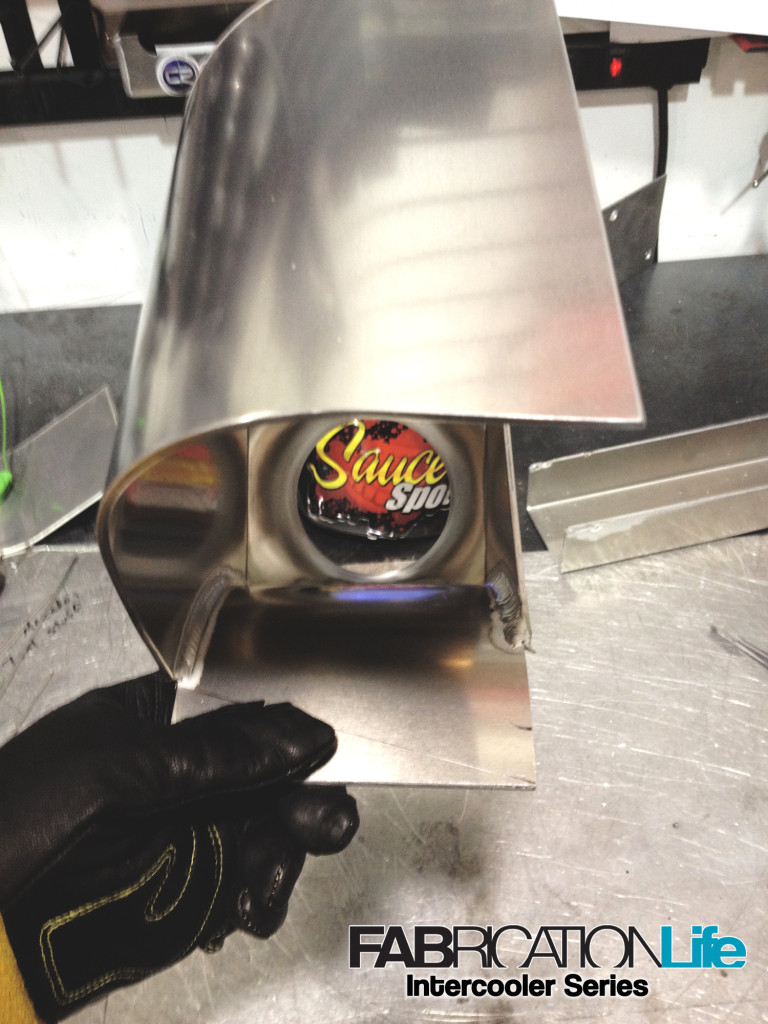
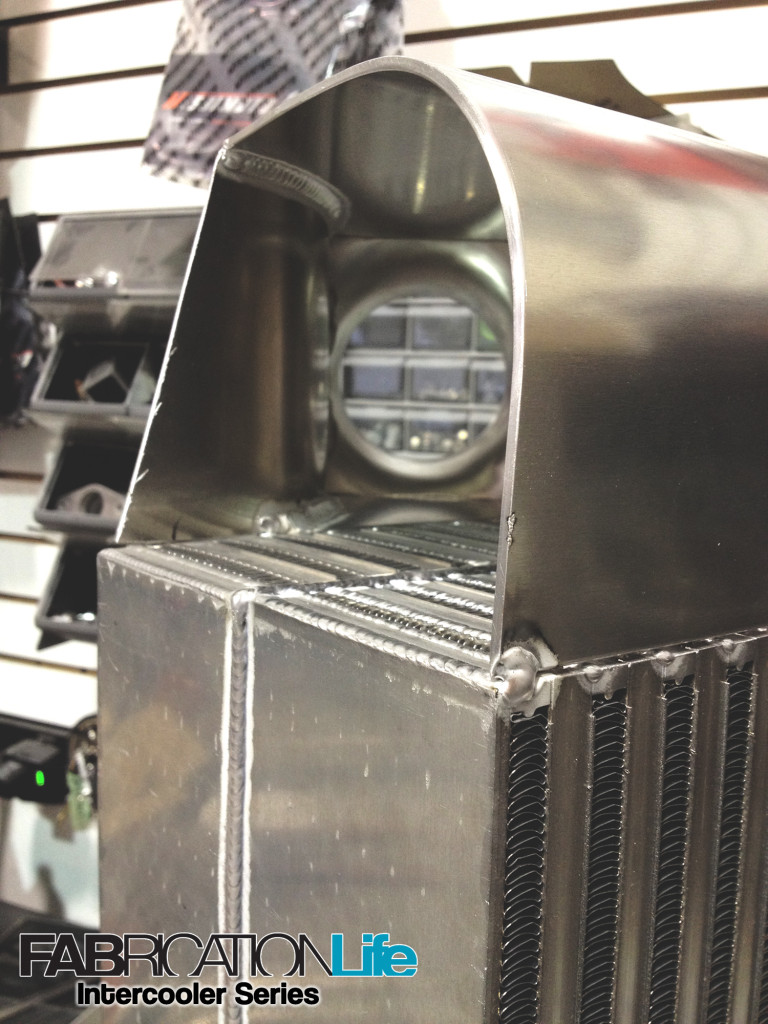
With that being said some fabricators who have mastered the english wheel, press brake, slip roll may look at my design thinking they could have done it in fewer pieces or made a smoother transition…this is where repeatability comes into play…if there were to an accident or unforeseen damage to the intercooler I have to be able to quickly repair or re produce this intercooler again.
Inner Velocity Stack
Speaking of airflow, I machined this square to round transition to further smooth the airflow and try to keep turbulence at a minimum and velocity at a maximum. This is at the intercooler outlet leading into the 3.5″ charge piping leading to the throttle body.
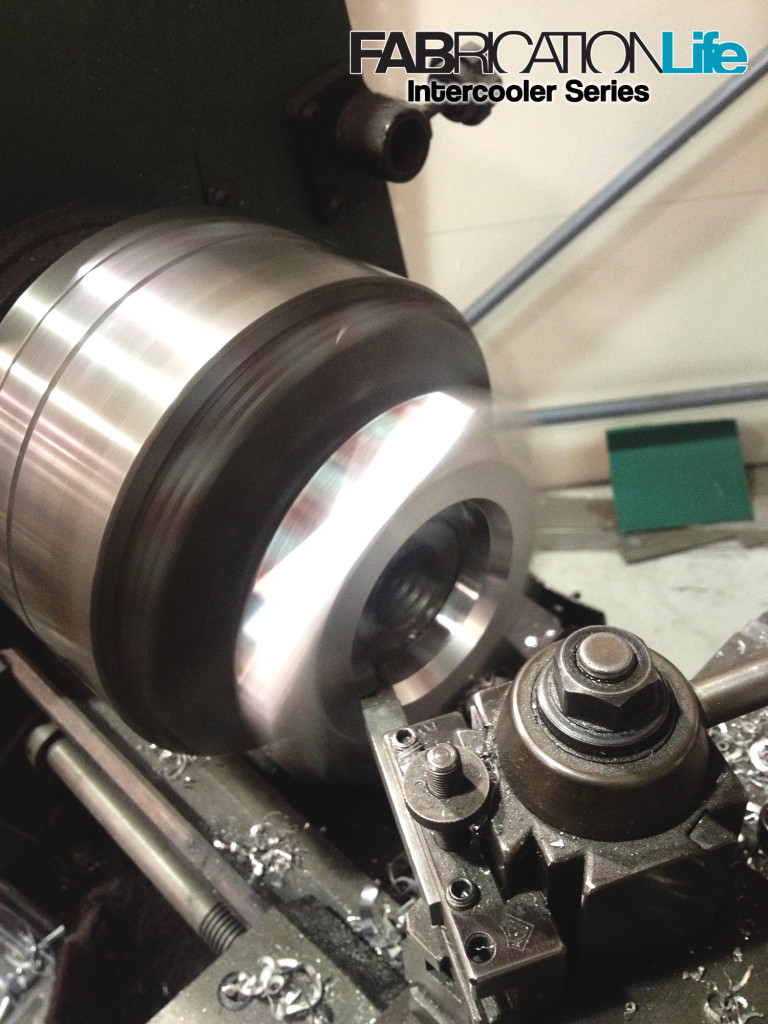
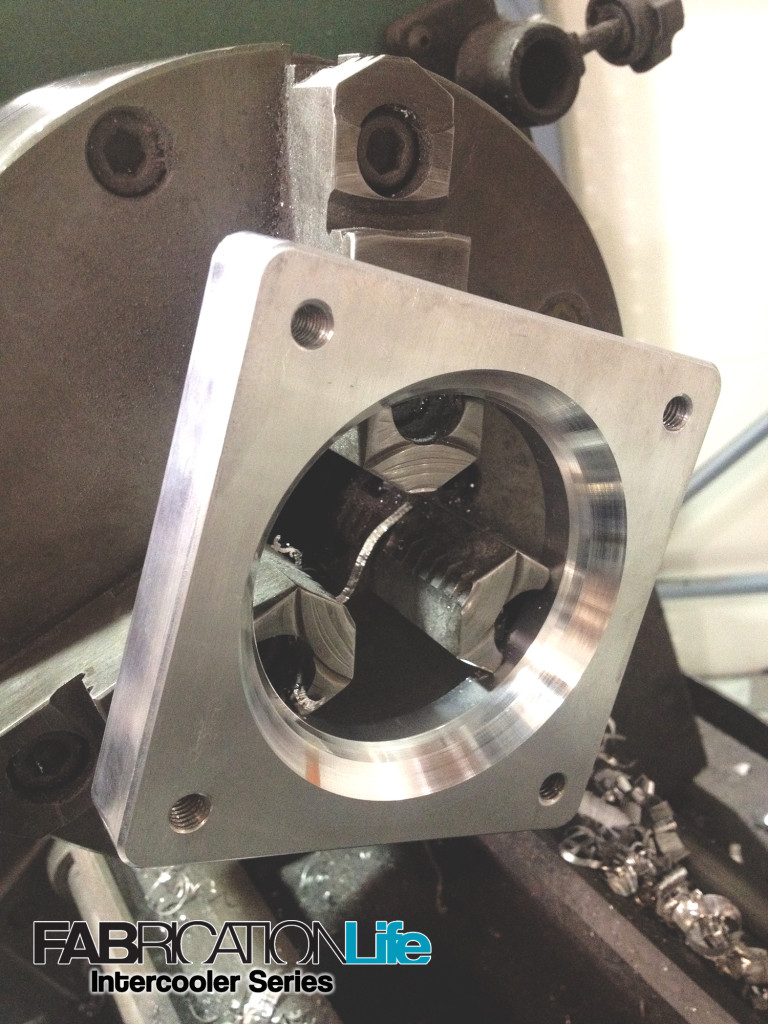
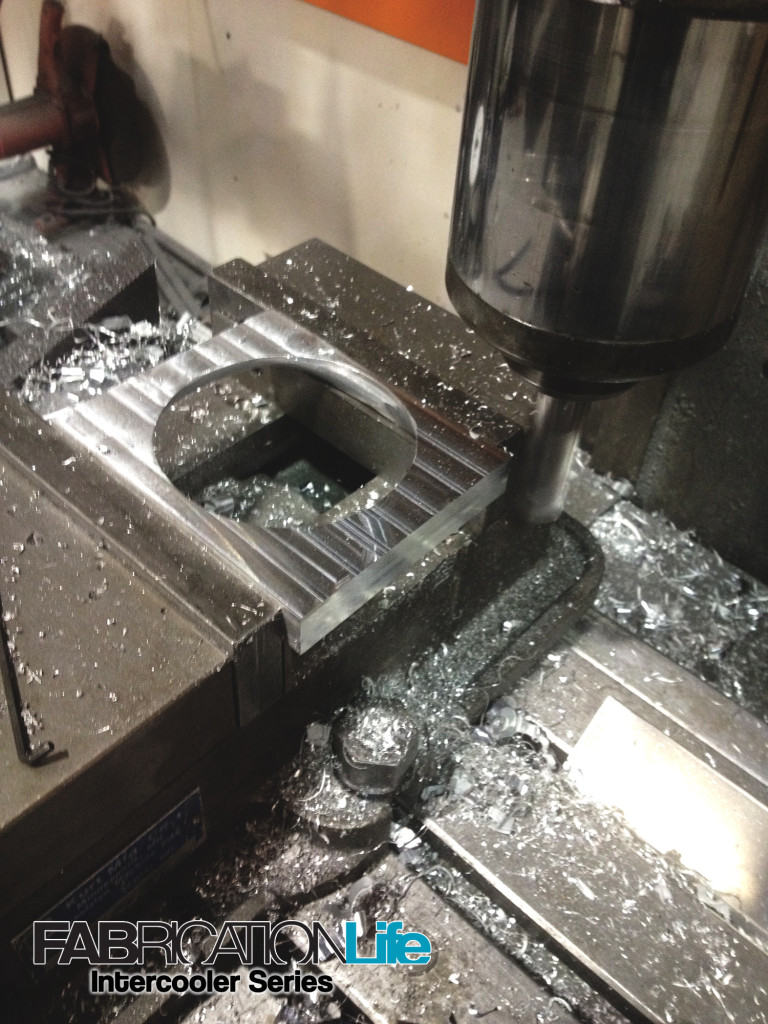
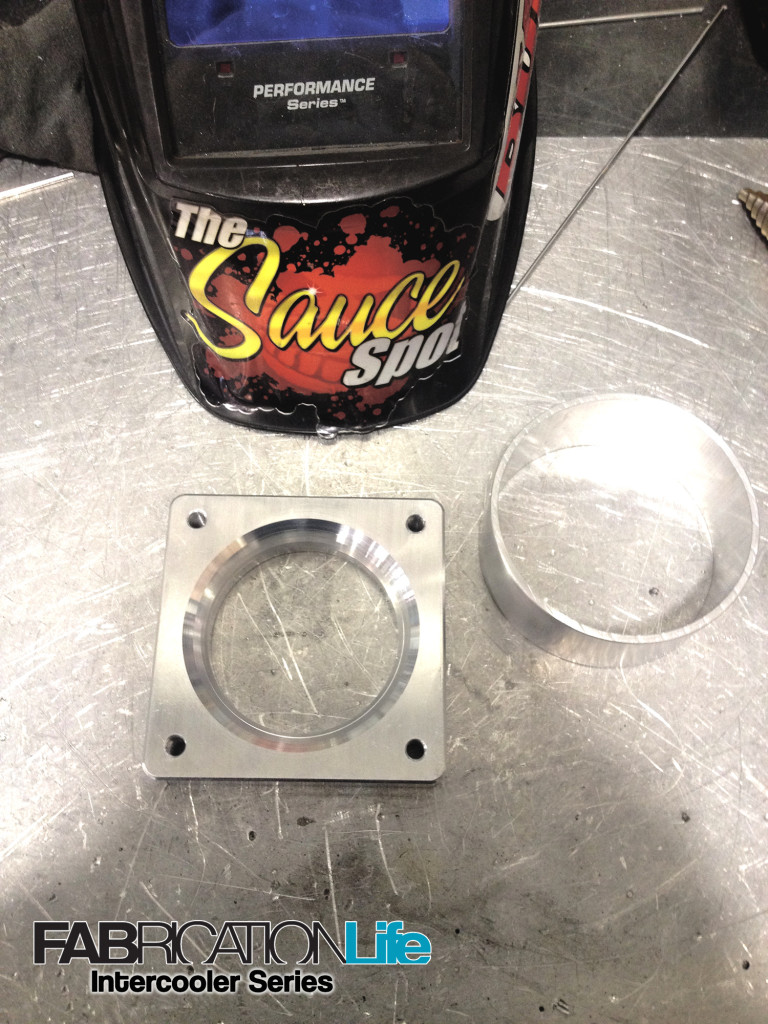
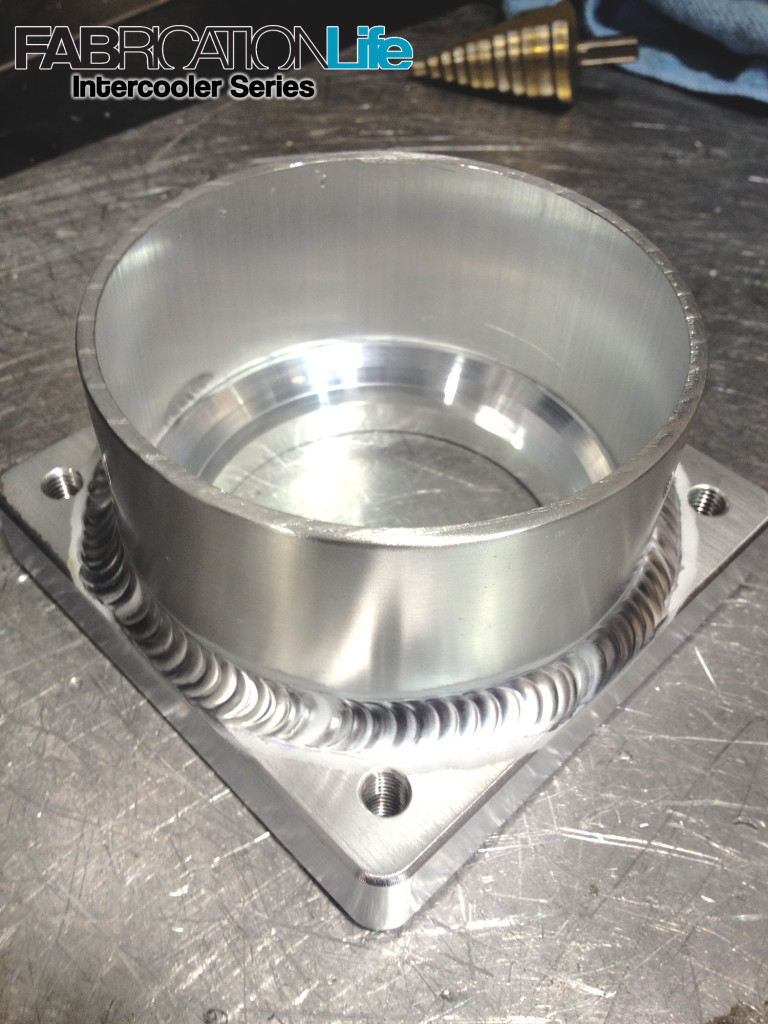
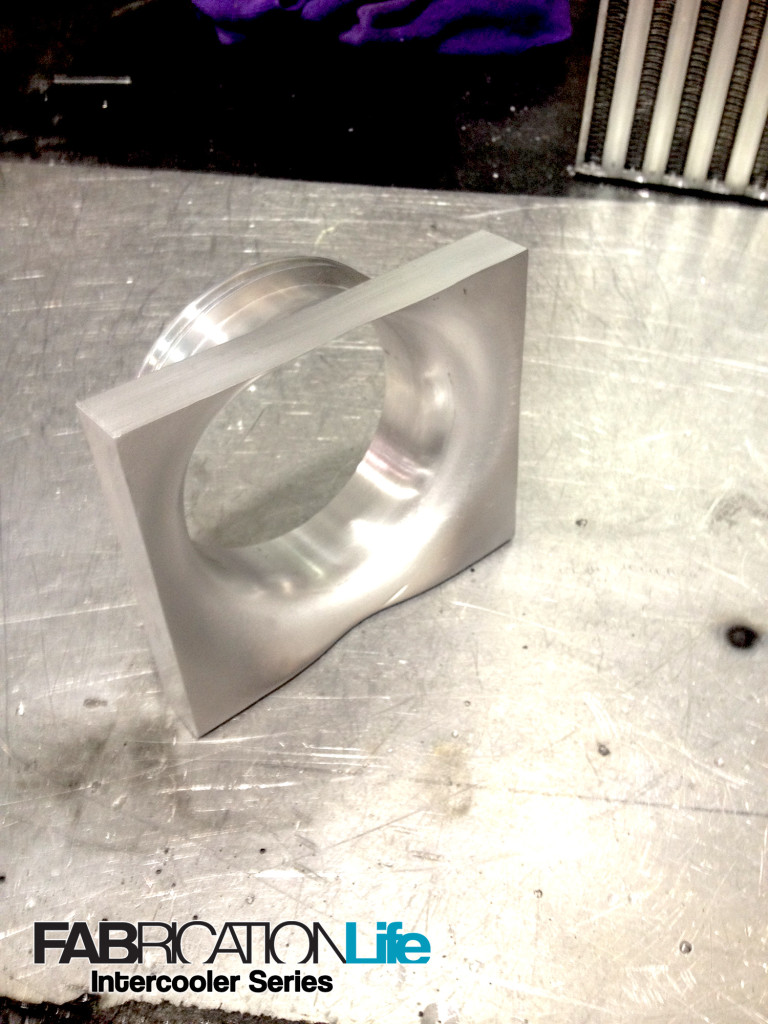
Stack finished and welded, ready to adorn the end tank and flow like a freight train!
The finished Product
As for the end result of the tank, it’s what I felt would fit, and perform best for our 1000+whp application.
Inside Jokes
We spy a Smurf!
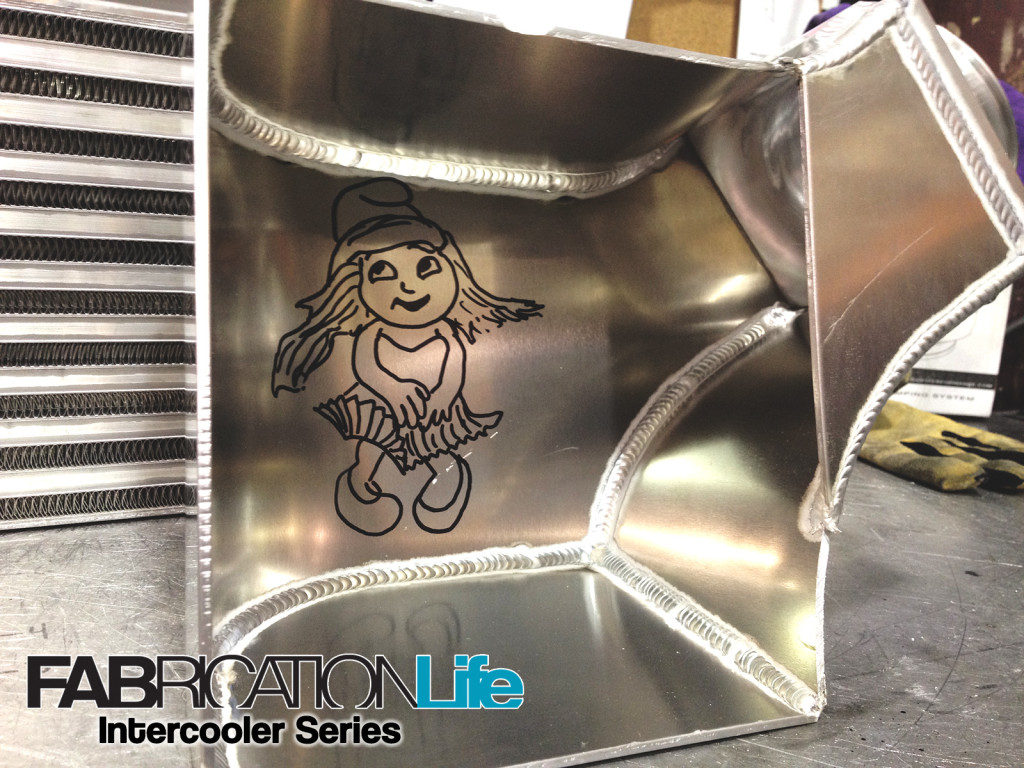
Here is an inside joke with Cole. It’s Smurfette, because he calls the Vibrant Civic Si “Smurfy” obviously due to the blue colors used on the wrap. This little caricature was to be Smurfette holding down her skirt due to the wind inside of the end tank. This is a great play on the classic Marolyn Monroe scene from the 1955 film The Seven Year Itch, placing Monroe in a white dress which is now famed all over. Good go Derek!
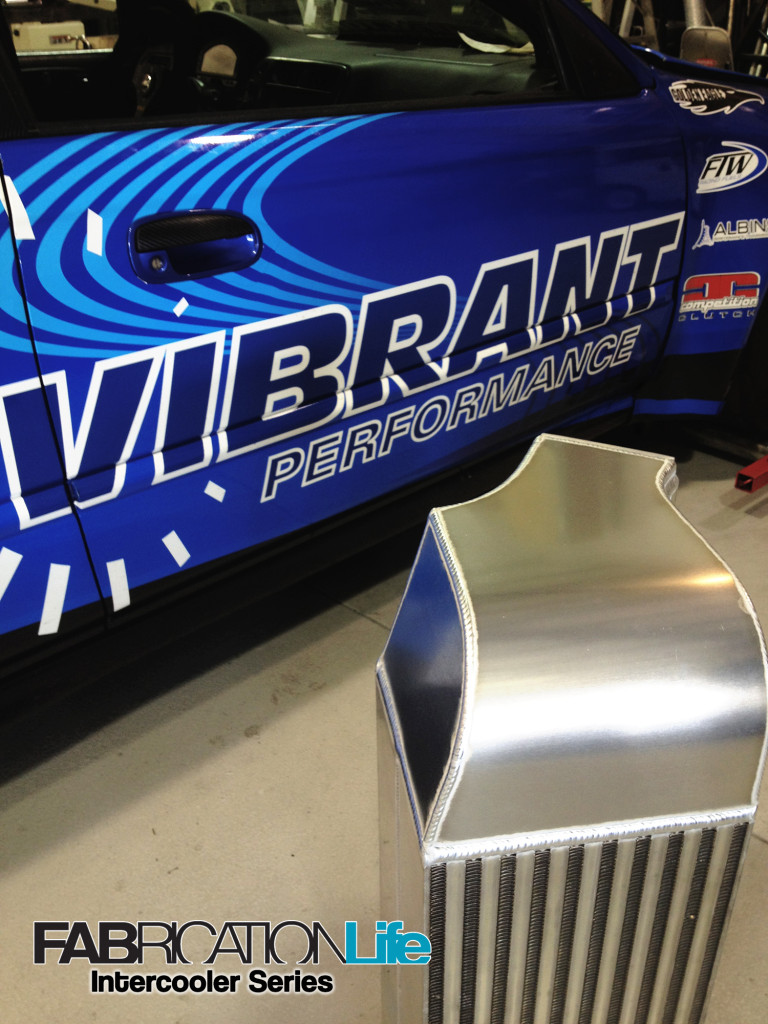
This intercooler, while many pieces have been shortened and cut for your viewing, is ready to produce the 1000+whp that it will take to rail the Civic past those previous 8.4x time slips. Last year, we bested mid-8 second passes but now we will eclipse those times. A new day is on the horizon for the SFWD Civic you have seen.

