FabricationLife


G-Fab techtips: Hole-E Mole-E

Posted on

So I thought it’d be a good idea to share some techniques I’ve learned over the years. Simple, easy to follow tips to help maximize your full potential while welding or fabricating your projects. So enjoy this post, as well as more to come, and see if we can help give you that different angle.

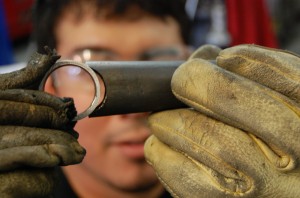
I would first like to talk about how to achieve nice and neat fitments between parts and through holes that they must line up with. Now I know many of you out there may have dealt with drilling holes, big or small, with the intention of welding some type of tube or fitting that it must line up with. I’ve been there before only to have the loose part move due to myself bumping it right before tack welding it, or the shrinkage of a tack as it cools. This can also pull your part off center a bit. Another annoyance is having a hole too large causing your part to sink in, making it a little harder to square up. I have come to my own conclusion for a technique I will always use as a first resort. Now on to the process.

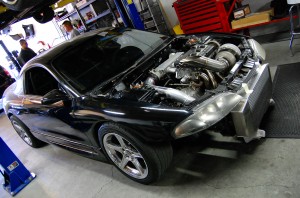
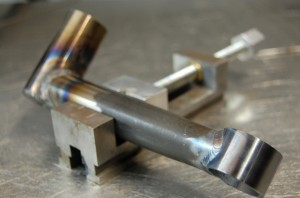
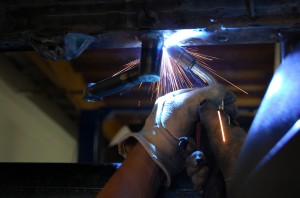
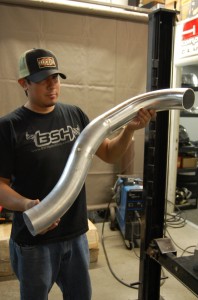
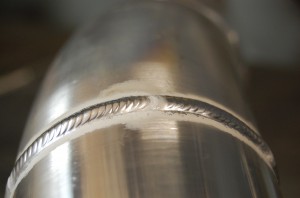
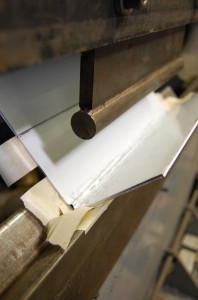
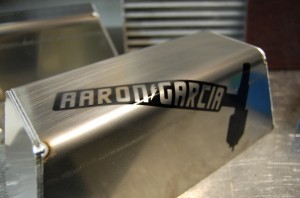
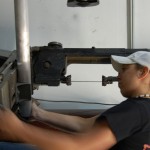
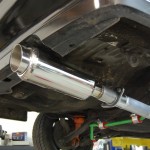
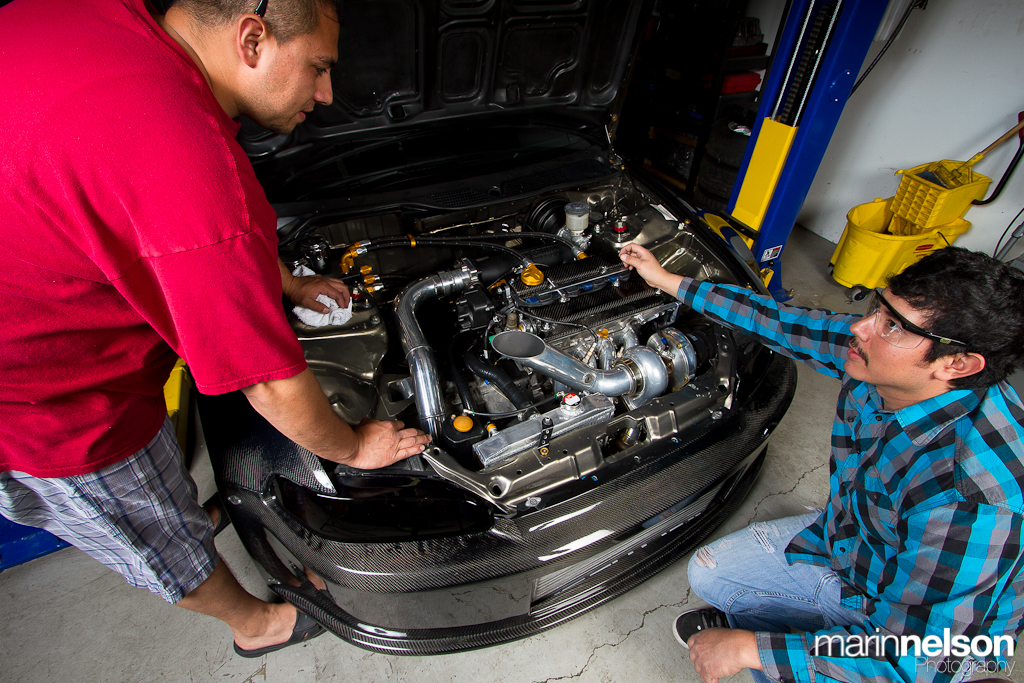
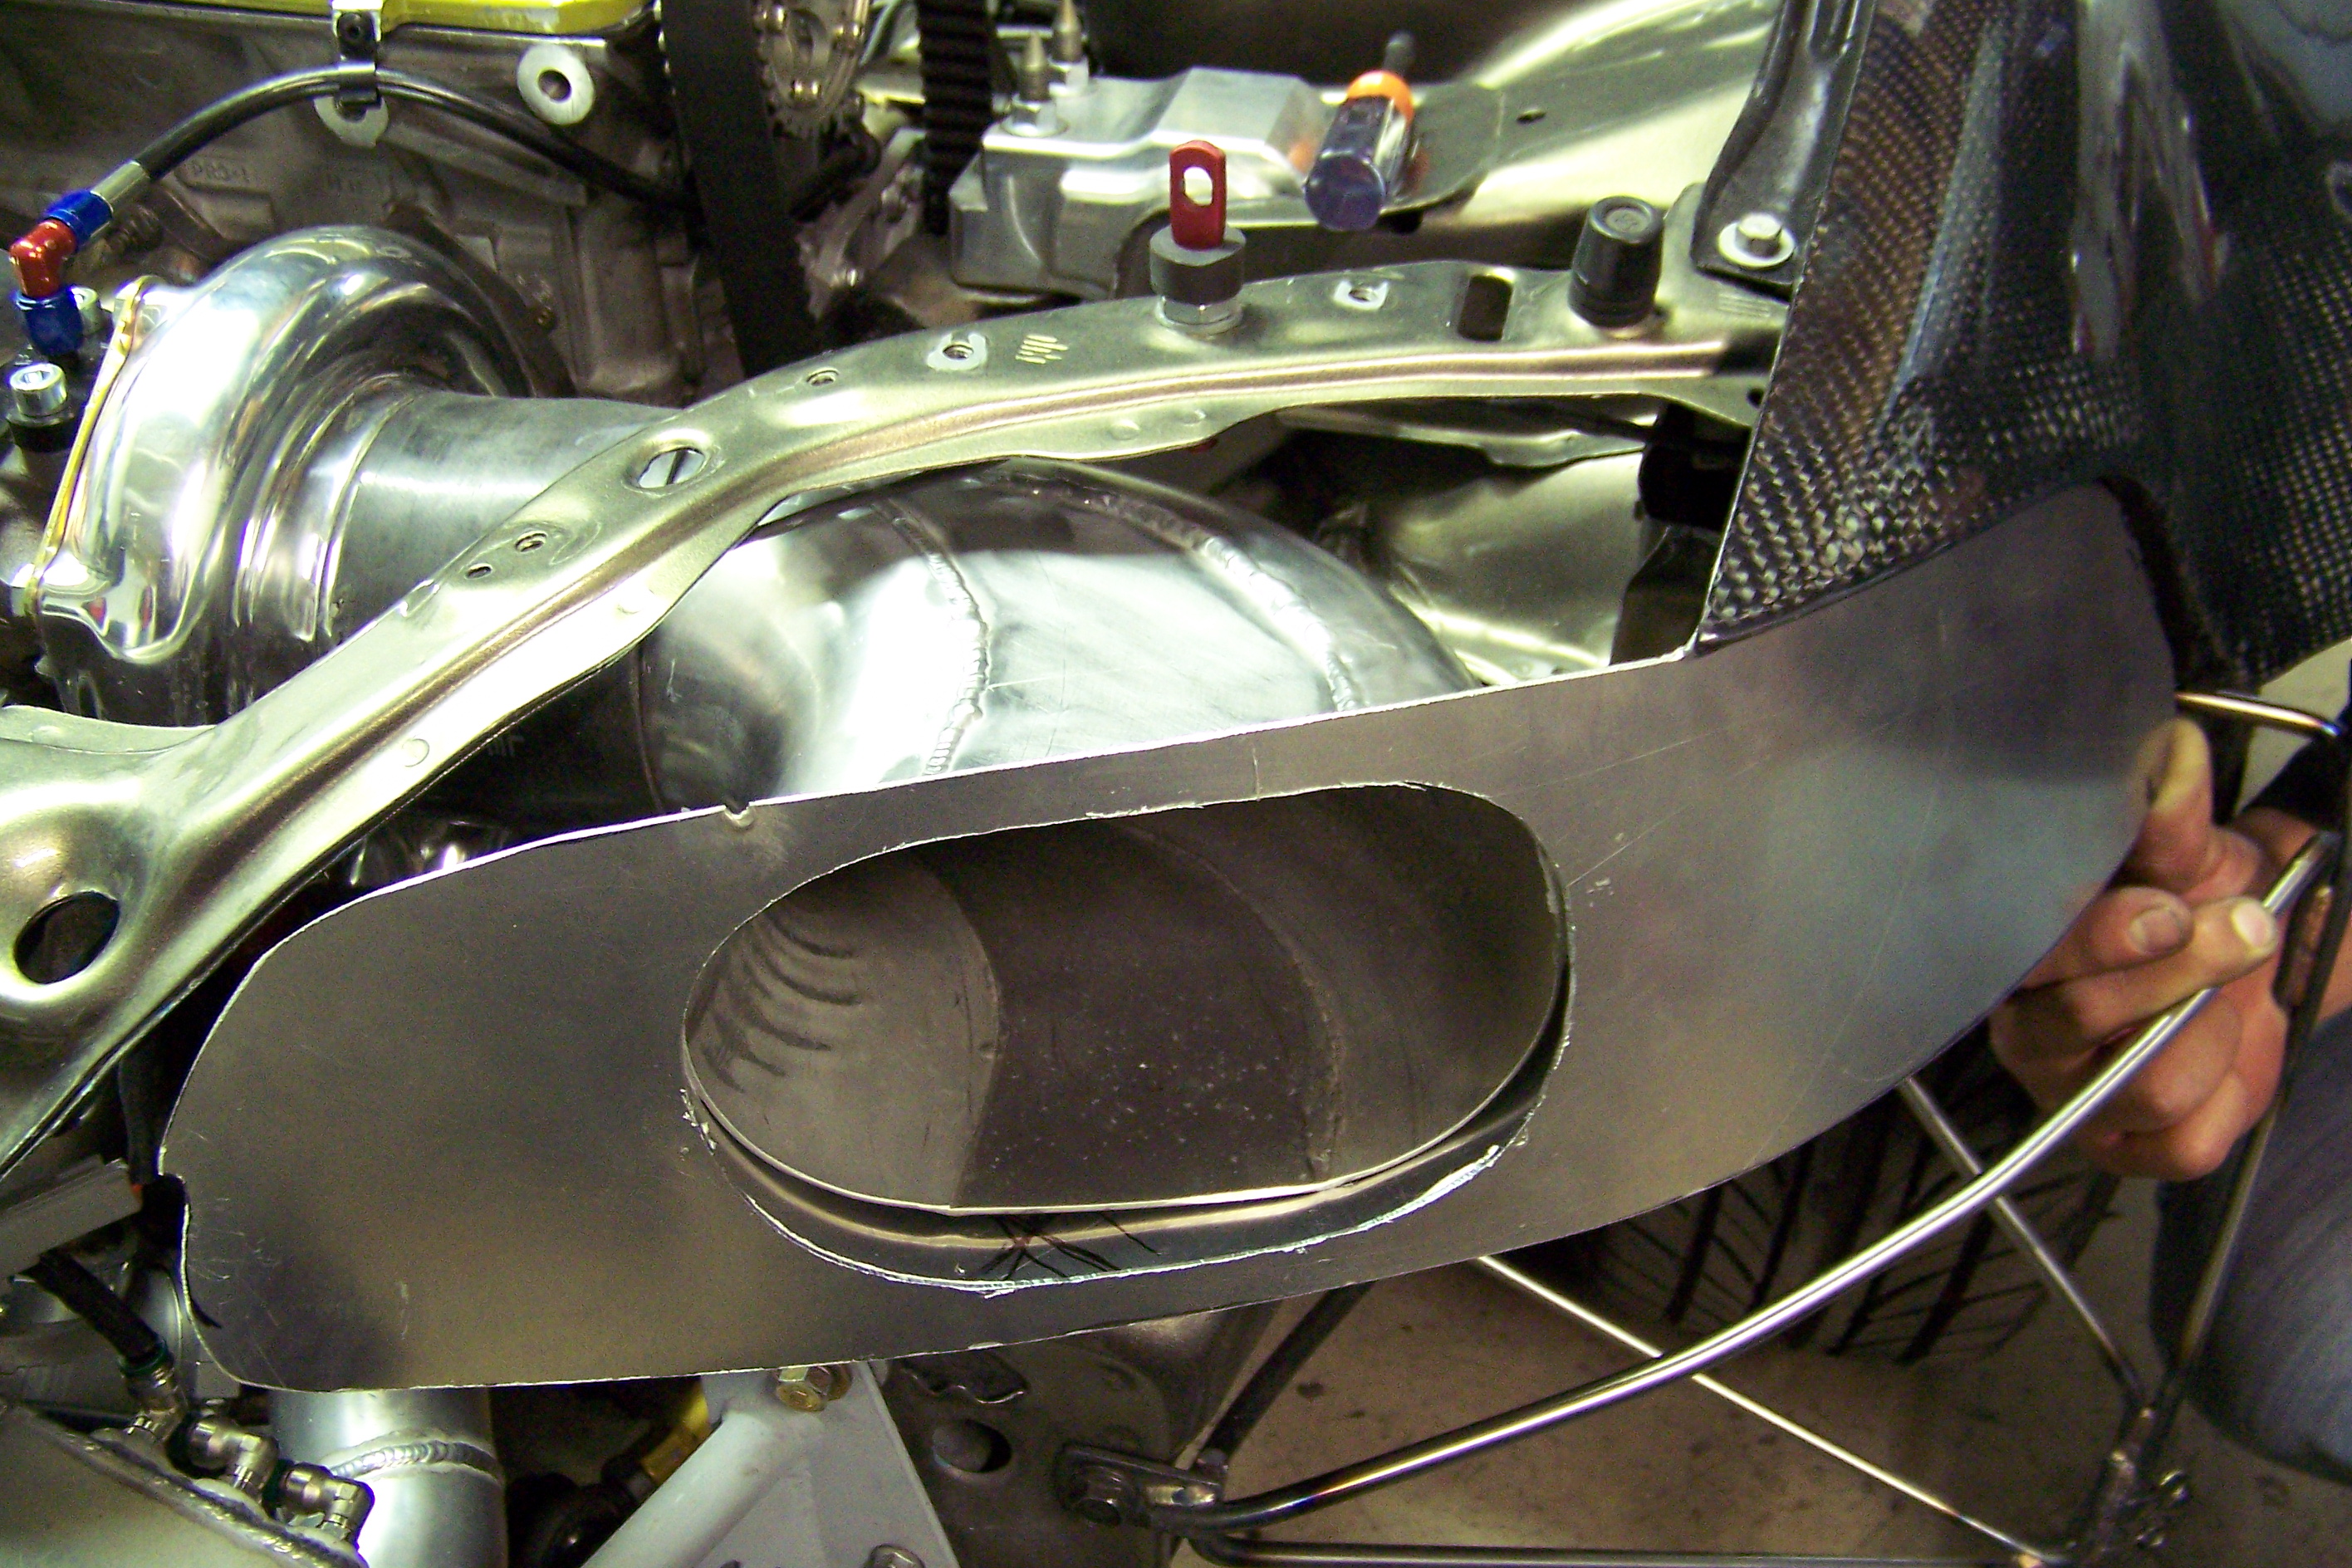
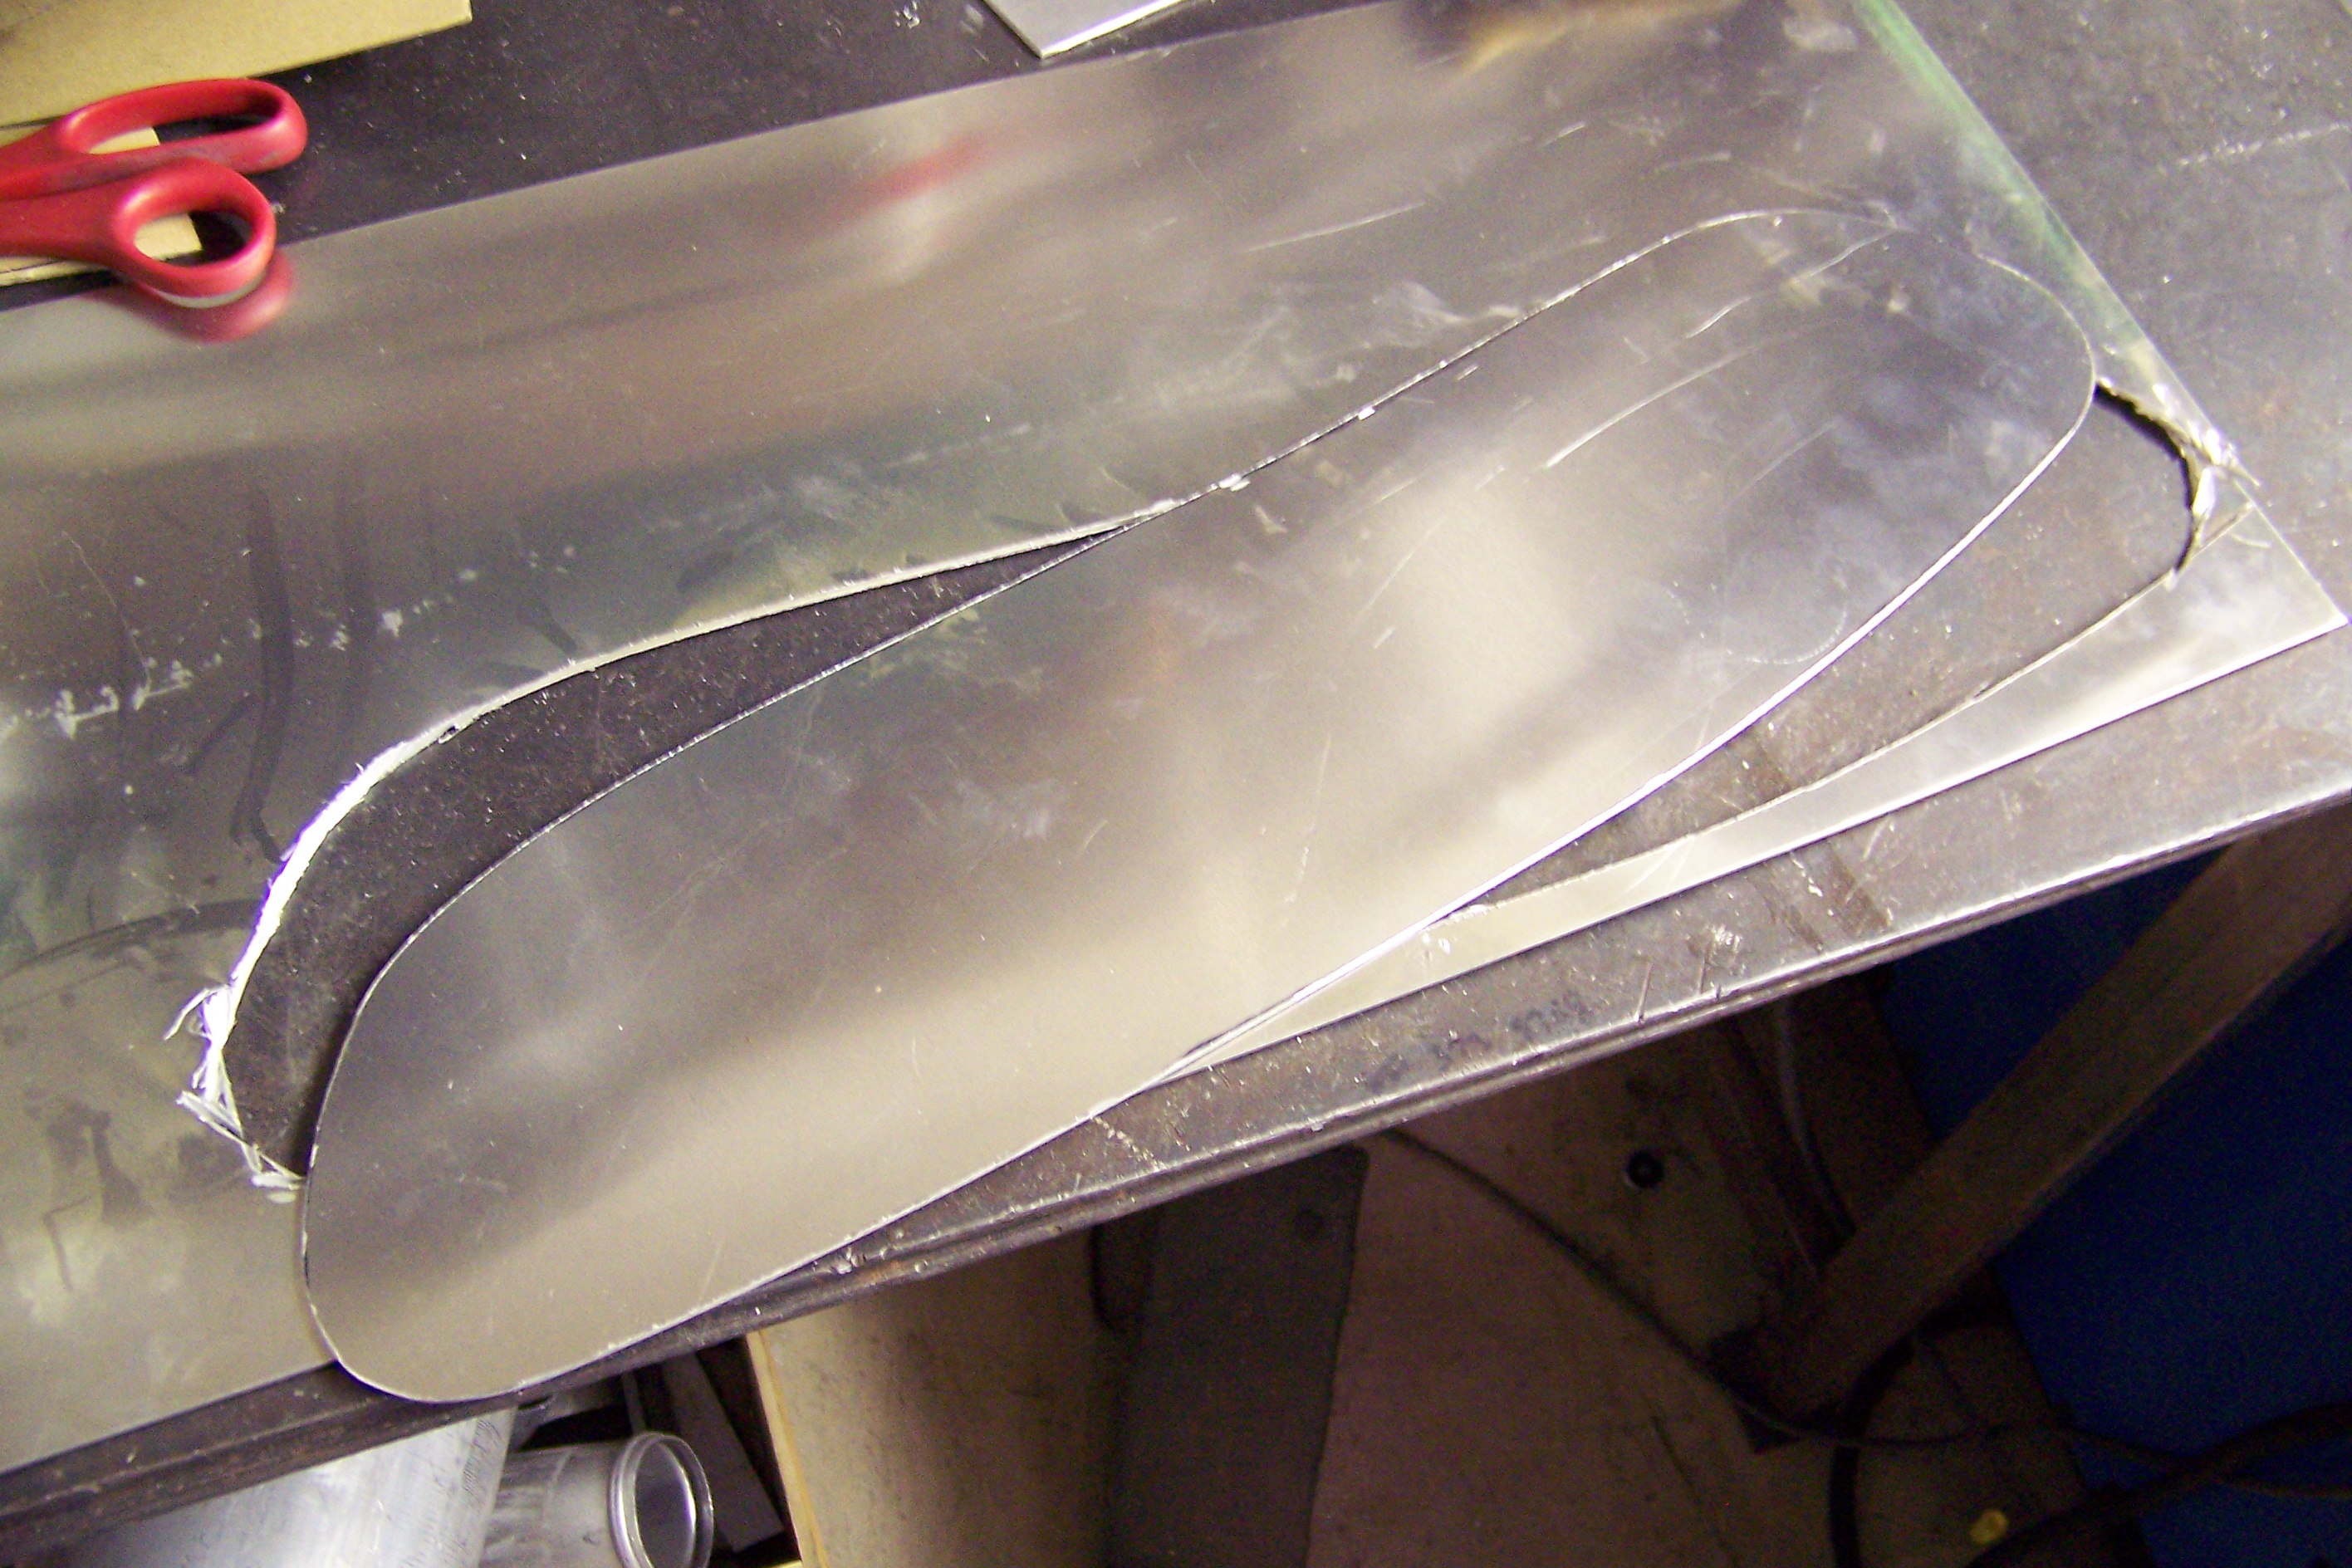
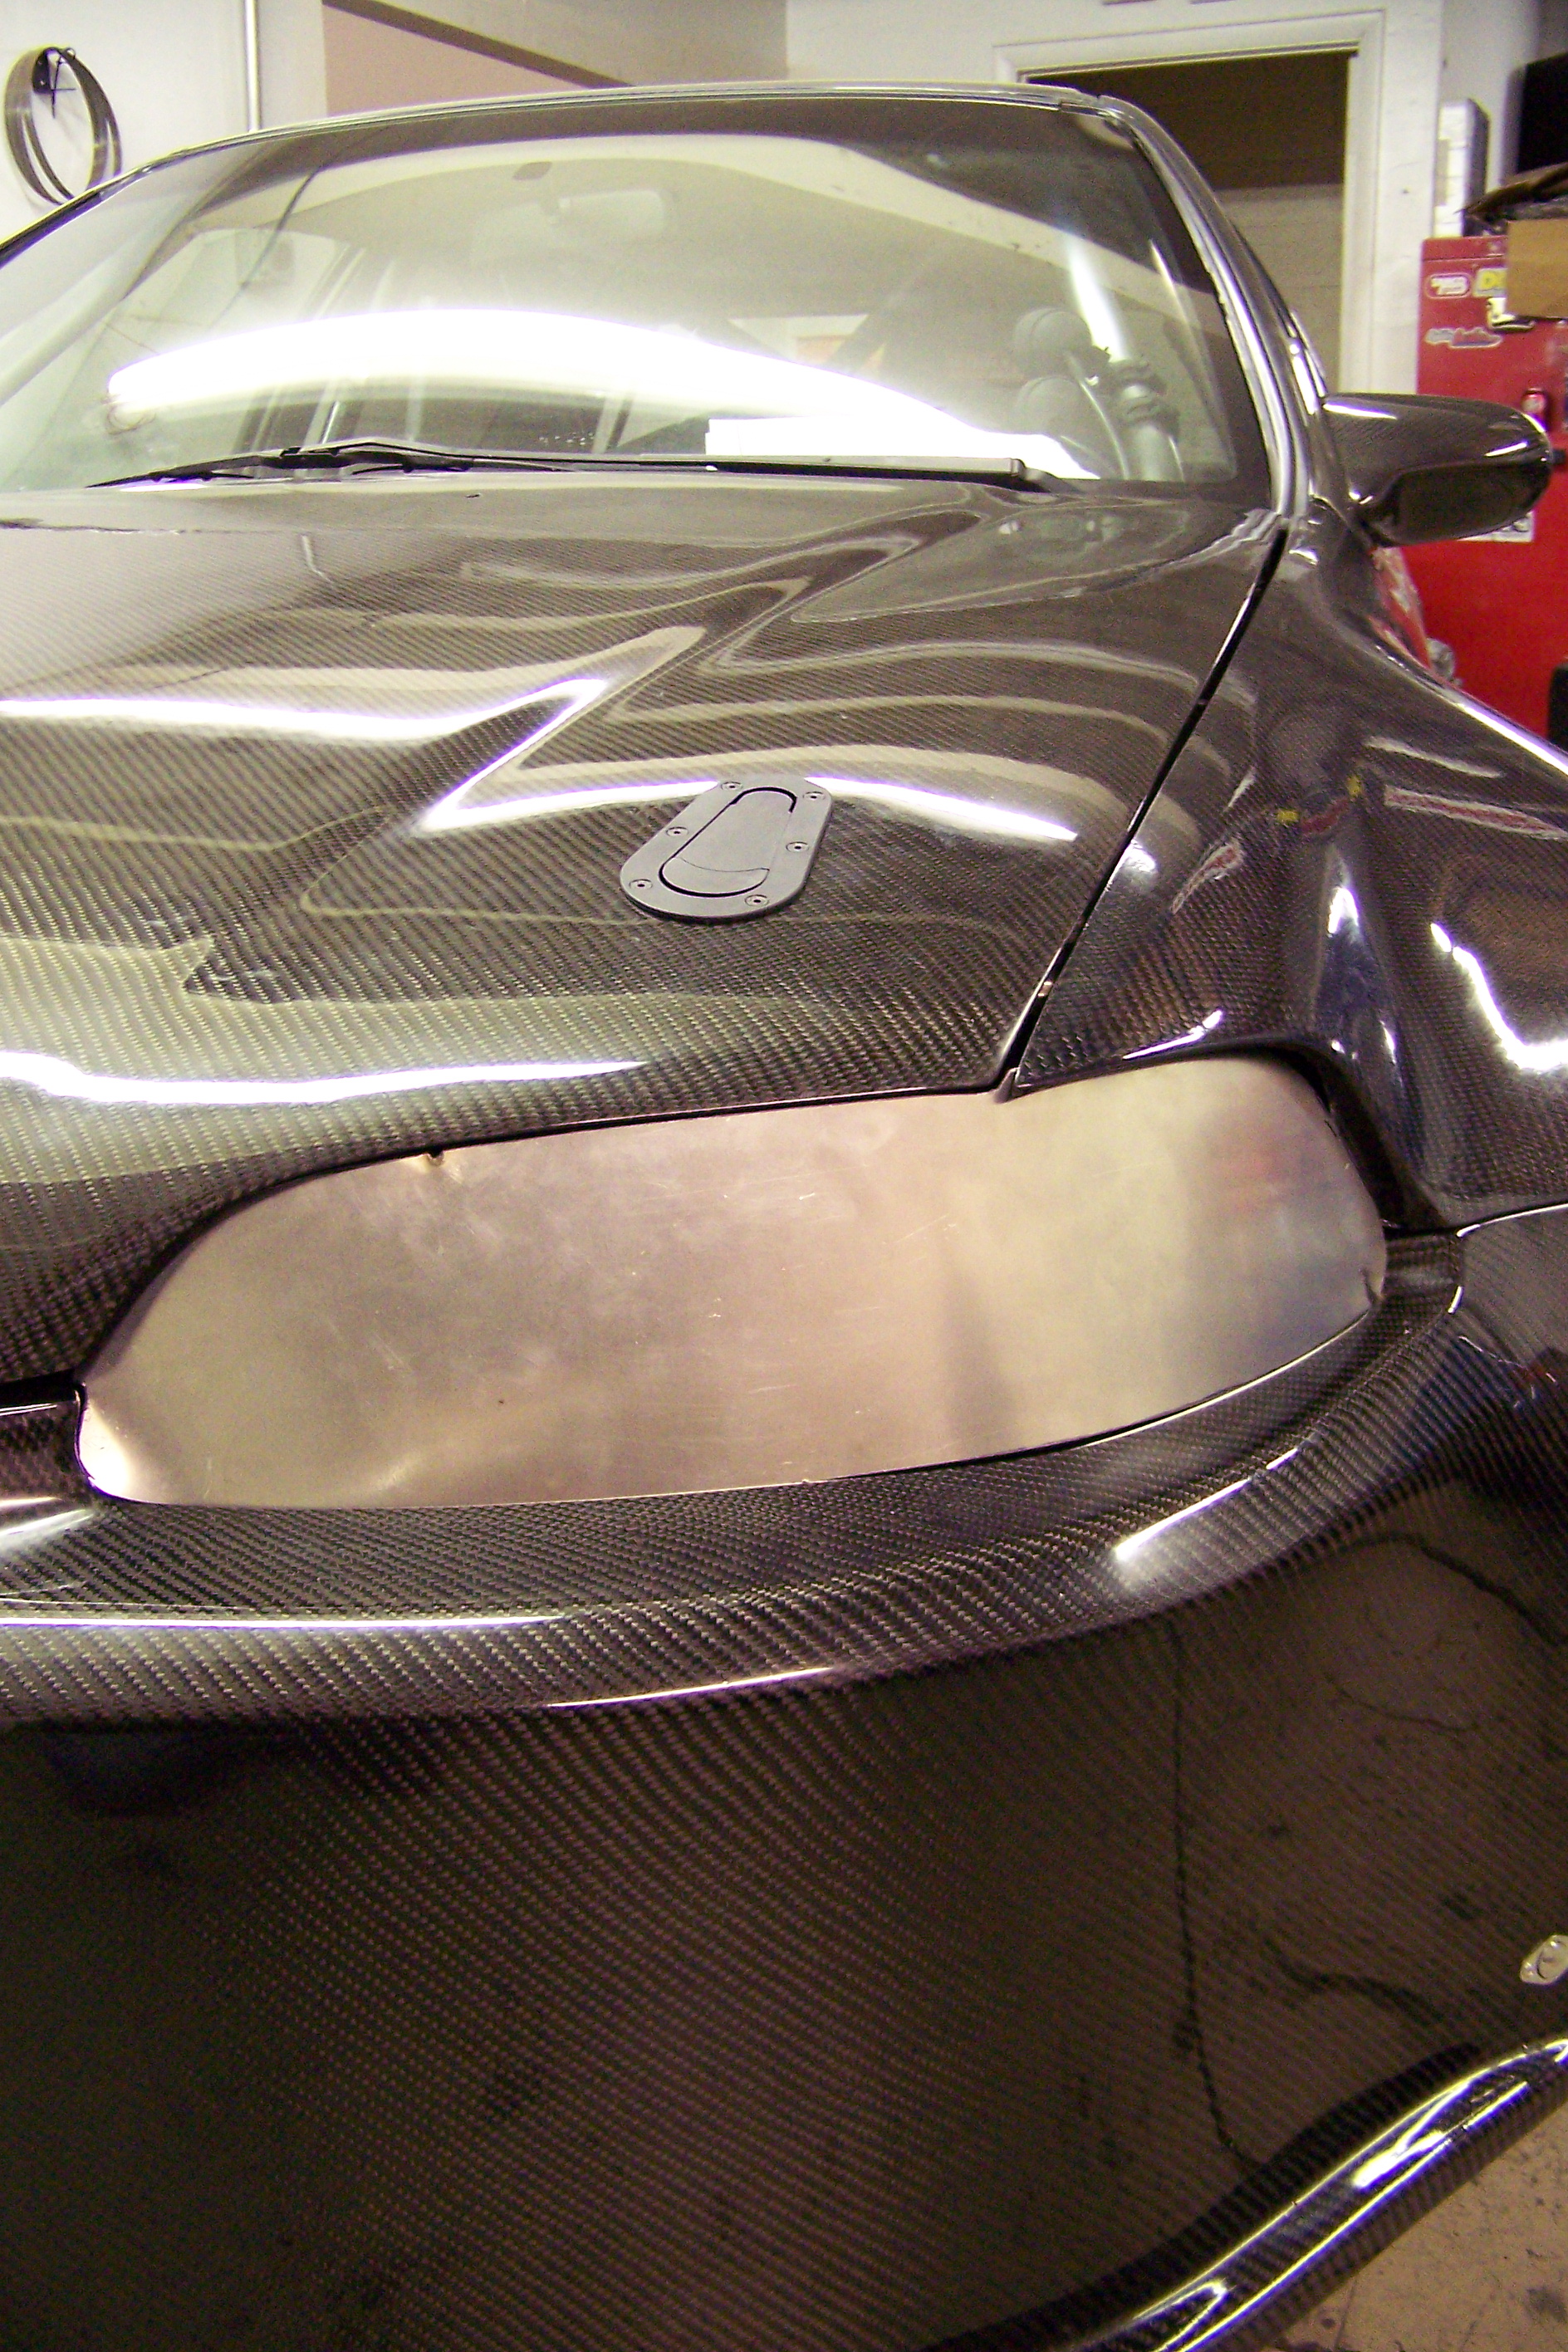
For my example, I will be finishing up an intercooler I am currently working on where the inlet tube must be welded to it’s endtank. After having the tube-end bead rolled and all burs cleaned up, I place the part where I’d like it and proceed to weld it to the tank without drilling a single hole. This will ensure your part is as square, as when you fit it. Also, the weld will lay evenly all the way around because the material is consistent. Sometimes poor fitment of a pre-existing hole may cause the material to heat up faster in some areas and cooler in others. This could potentially cause you to adjust your amperage mid weld, making it harder to be consistent.


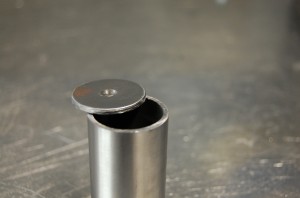
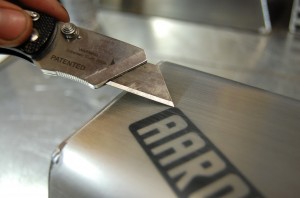
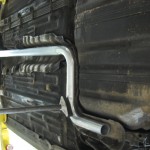
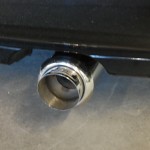
Once welded, it’s time to bust out the holesaw kit. Now, in my experience, I’m able to use a holesaw that is a 1/4″ smaller than the O.D. of the tube it must slide in to. The tube will act as a guide for the hole saw, eliminating the use of a pilot drill. So be sure to clamp the endtank down and carefully cut your hole.


Now that the hole has been cut, a quick clean up with a carbide bur or cartridge roll (barrel roll) can kick you off to the last step.

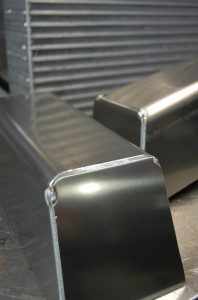
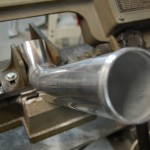
If you’ve followed correctly, a clean even hole will give you a good chunk of aluminum to work with on the inside. I just aim my torch at the inside edge and foot pulse the corner giving you that smooth edge and the satisfaction of knowing the part is welded inside and out.

So there you have it. Now go use it.

Thanks for reading and stay tuned in for the next tech tip to follow.

Posted in Uncategorized

The time has come

Posted on

About 9 years ago, I get a call; “Hey man uh, do still remember how to tig weld?”. And so started this long road of turbocharged fabrication.

That was my good friend Jon Owens (head welder of Full-Race Motorsports and current co-owner of Future Fabrications) on the other end of the line, who at the time was working at shop named Max-Rev Motorsports. Ring a bell for you old schools? I answer “Sure”, even though I had a 1 semester of tig welding and very timid about my skills. I needed a job and thought working with my friend would be awesome. After the first 2 days I welded 2 bolt flanges to the ends of downpipes and O2 bungs also. I felt overwhelmed and didn’t want to waste anyones time and decided to quit. The owner was able to talk me into staying and I couldn’t thank him enough for it.

Years go by, and manifolds are welded. I eventually left and moved on following in the footsteps of Jon to a little place he helped build to become what it is today. Full-Race. I was introduced to another level of commitment to quality. Everyone there were machines in my eyes. I knew I had to learn and learn good! Eventually they had a motto on a T-shirt hanging up on a wall, “go hard or go home…hard”. So I took what experience I could from the likes of Jon, Jackson, and Sean Sexton.

More years go by and more than a 1,000 manifolds later, I find myself at AFI Turbo. After a quick stint of doing a couple of side jobs out of Half-Race (that’s another story), I felt it was time to get a steady job so another turbo manufacturer seemed right at the time. AFI was a bit weird at first but it didn’t take long to get comfortable when you have a funny as hell redneck, Rick of Rick’s Towing beside you.

Fast forward a bit and here we are in present day. I’m still being pushed by a great welder by the name of CJ Tune helping me to sharpen my skills even further. I felt an itch to have a little more control of the skills I am developing and the only way I feel I can achieve that is to rent my own space and do what I do best. So far it’s been great having your friends and shop roommates as customers. One such friend is Juan Gonzalez. Right now, I’m currently fabricating a custom turbo set-up for his Honda EF hatchback. I am particularly proud of this manifold because it is the first B series manifold I have created under my own name. Thanks to Mike and Brad for the use of some equipment I don’t posses yet, I was able to finish and share with guys who like this kind of stuff.

Ok, ok, enough of the chit chat. Thanks for reading and enjoy. There will be another post later down the road updating the finished car in detailed form. Again, thank you and everyone who has had an influence on me.

-Aaron Garcia


Posted in Uncategorized

Shorty’s Story

Posted on

For the past couple of years I’ve gotten to know the ins and outs when it comes to a Honda drag setup. Now it’s time to broaden my horizon just a hair. Enter, Jose “Shorty” Mendoza, and his Mitsubishi Eclipse.

With the same configuration as a B series in regards to transmission, engine, intake and exhaust, things are starting out familiar. Shorty chose a Borg-Warner S372 to sit on an exhaust mani built by Tommy somethin or the other (don’t know his last name). This feeds a 24x12x4.5″ core with an inlet of 3″ and cold side of 3.5″. Now I just need some mounts to hang this intercooler, hmm.


With this done I can continue on to the charge piping, dumptubes and other various custom do-hickies.

Shorty is one of the family here at the shop and has helped on numerous occasions on race day getting the likes of Jake Blackman, TSR, Locash and Raul ready to run. Now it’s his chance to turn some heads and show what a DSM is all about.

Rewind a bit. The intercooler core needed a pair of tanks but no tag to weld on left me with a trick I learned from Forest Wang/Joey Lumpkin. Once the tanks were bent into shape and ready to be final welded, I laid a sticker down and proceeded to scotchbrite over the entire tank. Hard to explain easy to show.


“Wait…is that..?” is the kind of reaction it gets. It works for now but I do plan on having some weld on logos in the future.
Definately more to come soon so stay tuned….

Posted in FEATURED

“Exhaust”ing

Posted on

So let me start by saying this was my fault. The plan was to work on my girlfriends exhaust split up between a couple nights after work. The first time unbolting the section that has the flex welded on, flex completely rips off. I guess that is expected from a flex that may well be 20 years old. “Well, I guess we’re doing the whole thing tonight” says Kim. Then I get that gut feeling, knowing we’ll be here all night.

Time to get started. After bolting on the new/used DC sports header and modified dowpipe, Kim gets to bolting the start of an aluminum, 2.5″ exhaust. Because the flanges we used were a simple 2 bolt pattern, making the flanges out of flat 3/8″ and using a drill, holesaw and a bandsaw from work (thanks Mike), this was a simple task.

Next came a series of sharpie, cut, tack and repeat. The exhaust started to take shape as the hours passed on by. 12am, 2, then 5. I thougt it was never going to end. Usually I am able to wheel the buzz box under the car to eliminate all the back and forth of marking joints and unbolting/bolting. This time around, I had to do it old school. Then I got to welding until soon it was all melted together.

So finally, around 7am, we finished up bolting it back on for the last time. She was happy with fitment, and I was glad it was all over… so I thought.
After dropping the car on the ground and starting the car, I found that the belt used to sand the steel flanges didn’t flatten it enough. I was way to tired to take it apart so we just waited till the next week.
All done and pictures we snapped.

Posted in FEATURED

“Phirst” Photoshoot

Posted on

A couple of years ago I met my good friend Raul Gonzalez at a hole in the wall called “Half-Race”. I fabricate, while he wrenches and races. It was the perfect combination to have created such a machine in his ’92 Civic hatch.

In the beginning I could only see a typical turbo system build; intercooler, chargepiping and exhaust. But as parts were being built and the project unfolded, we knew we had to out-do ourselves from previous and build more. Raul put too much effort into this car, prior to me, to fabricate something bland or under par.

So it started with the charged air. Pipes and intercooler. My first thoughts were to run the hot side straight forward to the tank. Only problem would be is the core would sit offset to the car. Raul didn’t want to say anything so Henry Ong of Ongsport stepped in and gave me a verbal “smack on the head”. I quickly listened and reminded myself throughout this build to aim high. So the intercooler was centered with a couple of bends. The chargepipes were next. Followed by (and in no particular order): a catch can, upside downpipe, belly/catchpan, tunnel block off, dumptubes out the bumper, rear wing, cable stop for the chute and other little odds and ends.

I couldn’t have done this without Kim, Raul, Henry, Aaron, Jake, Marin, Mike, and those who came by to hang out and give praise and criticism. It really kept me on track to help get this car to one. Congrats Raul and for the rest of you enjoy some of the pics I was able to snap during some fab work.

Posted in FEATURED